There’s a reason magnetic tiles are a hit with toddlers (and with parents too!). I’ll never forget the first time I saw a little one stack them up—tiny hands working hard, colors reflecting off each other, and pure concentration on that little face.
These tiles are more than just a toy; they’re like a mini-lab for learning! Toddlers get a solid dose of motor skill practice, color recognition, and even early STEM concepts, all through play. It’s amazing how something so simple can unleash their creativity, making every build, knock-down, and rebuild an adventure in learning.
Educational benefits of magnetic tiles for toddlers
Watching toddlers work with magnetic tiles is like seeing little engineers at play! I’ve watched those small, determined hands pick up each tile, clicking them together, sometimes hesitantly, sometimes with surprising confidence.
Every time they build, they’re flexing those fine motor muscles and diving into shape and color recognition without even realizing it. And when something doesn’t fit? They don’t give up—they twist, turn, and try again. It’s like watching a mini problem-solving session unfold, right there on the playroom floor.
These tiles make learning feel like an adventure, and you can see that sense of discovery light up their faces.
❤Top Posts You’ll Love:❤
- 10 Kindness poems that rhyme
- 27 Short kindness quotes for kids (easy-to-remember and repeat)
- 10 Free printable kindness quotes for students (how to use these quotes and relevance discussed)
Here below are the 10 creative magnetic tile ideas to engage toddlers
Magnetic tile color sorting and counting activity
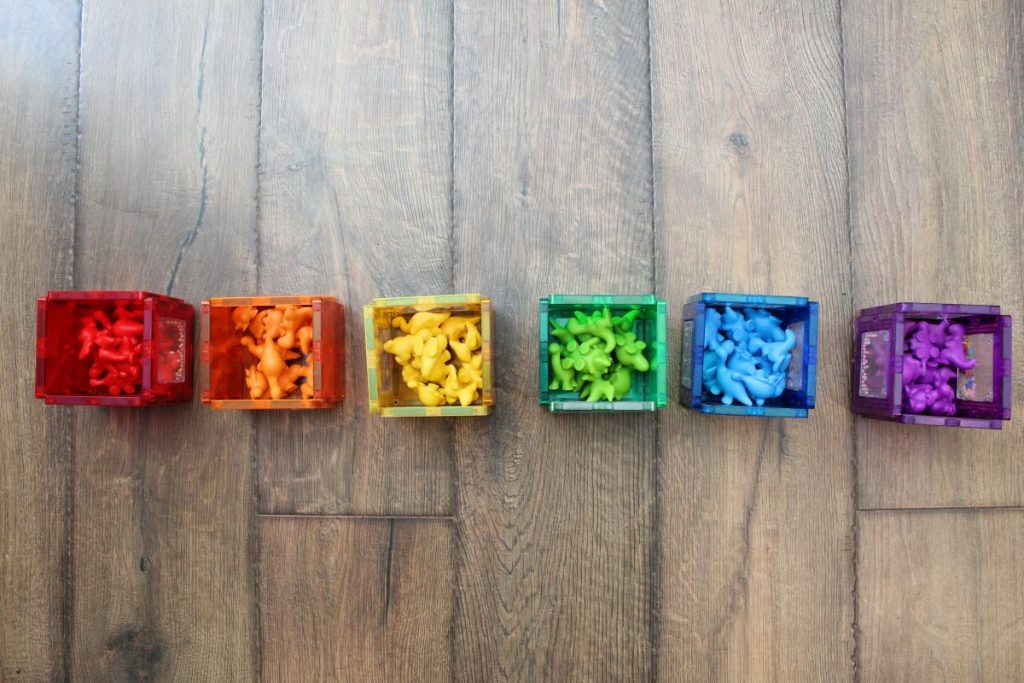
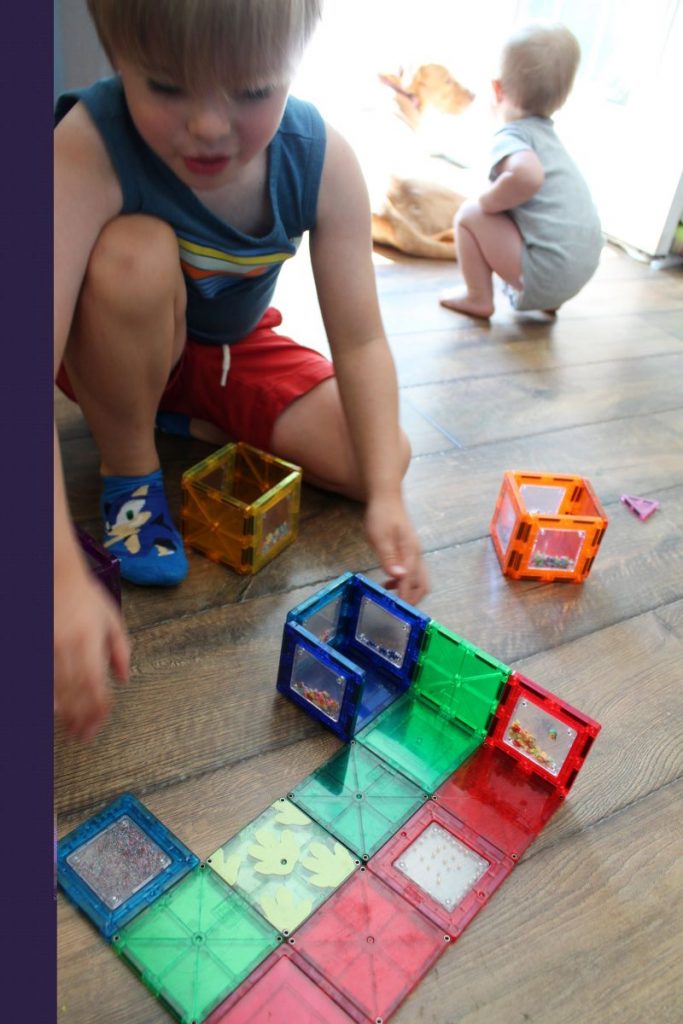
Sorting and counting with magnetic tiles is a fantastic way to sneak in some learning during playtime! Here’s an easy activity: gather a set of magnetic tiles in different colors, and encourage your toddler to sort them by color.
I love watching little ones light up as they create their colorful piles—it’s like a mini art project that’s also building early math skills. Once sorted, you can count each color group together, helping them practice numbers in a hands-on way.
This activity makes colors and counting click naturally, with zero pressure, just pure fun.
Gather materials
- Magnetic tiles (e.g., Magna Tiles or Picasso Tiles)
- Colored counters (such as dinosaur figures or pom-poms)
- Fine motor tongs or tweezers
Build color-coded boxes
- Have your child select five square magnetic tiles in different colors: red, yellow, purple, blue, and green
- Assist them in constructing open-top boxes using these tiles, each box corresponding to one color
Sort counters by color
- Spread the colored counters in the center for easy access
- Encourage your child to use the tongs or tweezers to place each counter into the box of the matching color
Count the counters
- Once sorting is complete, count the number of counters in each box together
- This can be done by picking them out individually or by dumping them and counting collectively
Engage in counting practice
- Arrange the colored boxes in a circle
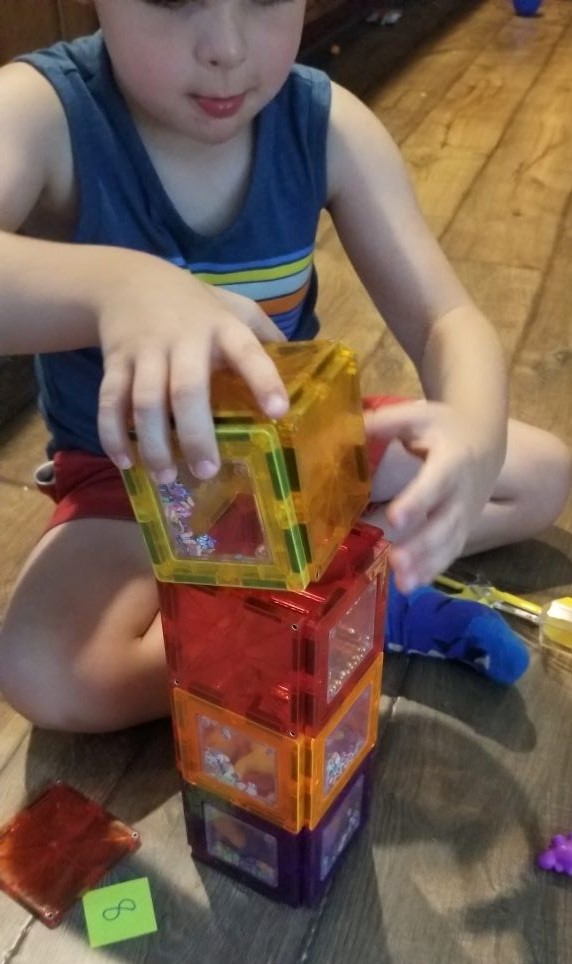
- Write different numbers on small paper squares and place one in front of each box
- Ask your child to add the corresponding number of counters to each box, using the tongs or tweezers
Encourage free play
- After the structured activity, allow your child to explore and play freely with the materials
- This fosters creativity and reinforces the skills they’ve practiced
Castle
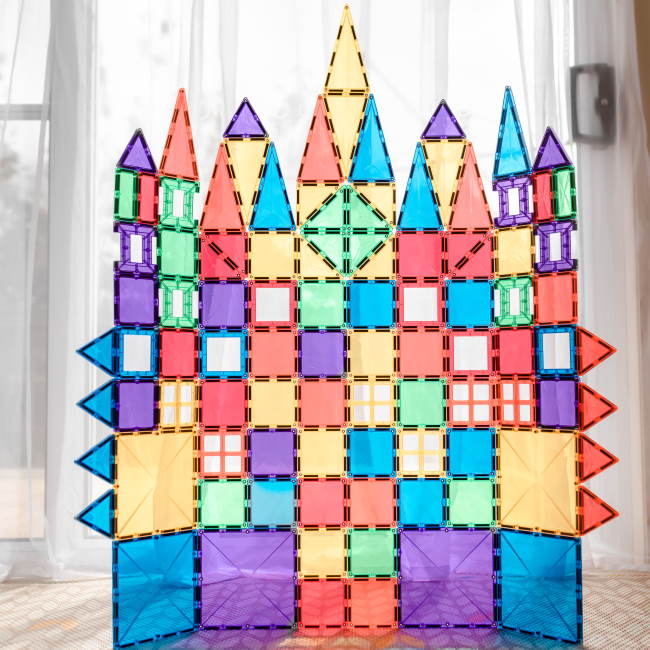
Materials needed
- Magnetic tiles in various shapes (squares, triangles)
- Different colors of tiles (red, blue, green, purple, yellow)
Steps
- Choose a flat surface: Start on a flat surface like a table or the floor to keep the base stable
- Build the castle base:
- Begin with a row of large square tiles at the bottom for a strong foundation
- Arrange them in a straight line, alternating colors to make it colorful
- Create the castle walls:
- Stack more square tiles on top of the base row, building up to the height you want for the walls
- Keep the colors consistent in each column or mix them up for a vibrant look
- Add towers on each side:
- For the sides, make tall, narrow stacks of squares to form towers
- You can use smaller squares at the very top to add height and make the towers look distinct
- Make the roof:
- Use triangle tiles on top of the wall and towers to create a pointed roof
- Place the triangles so they point upwards, giving the castle its “castle-like” peaks
- Add triangles of various colors for a colorful roofline
- Add details:
- Place smaller squares or triangles within the walls to create “windows” or decorative elements
- You can alternate the colors and shapes for more detail and visual interest
- Finish with a central peak:
- In the middle, build a taller section with squares and add a large triangle on top to create a central tower, making it the highest point
- Secure the structure:
- Carefully press down on the tiles to ensure everything is connected securely
And there you have it—a magnetic tile castle! Let your child’s creativity add more details or customize it to make their unique design.
Shape Recognition
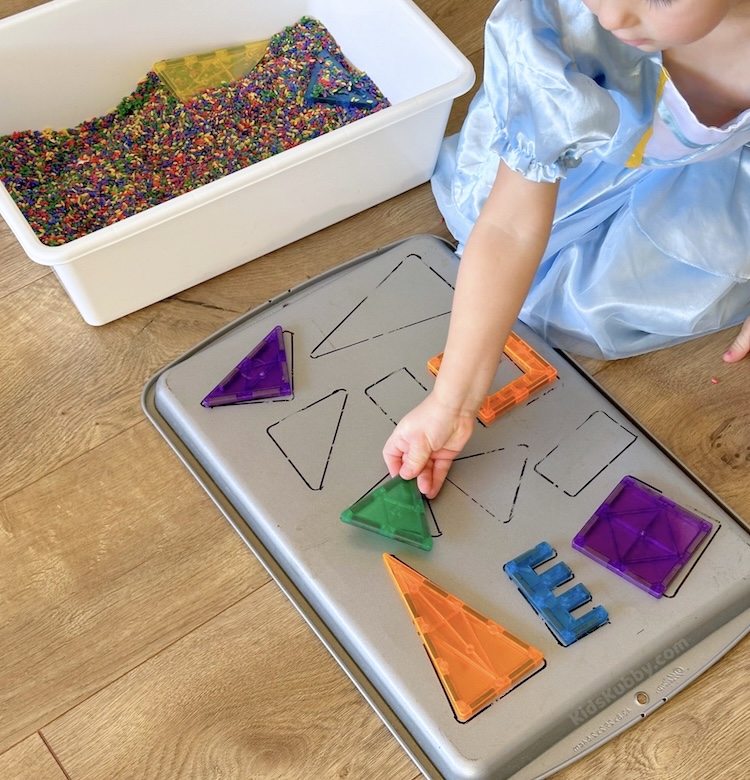
Objective
Assist children in learning and identifying various shapes in an engaging manner
Materials needed
- Magnetic tiles of various shapes
- A baking sheet
- A dry erase marker or Sharpie
- A tub or bin
- Colored rice (instructions for making colored rice are available on the Kids Kubby website)
Setup instructions
- Place different magnetic tile shapes on the back of the baking sheet
- Trace around each shape using the market to create outlines
- Fill the tub or bin with colored rice
- Bury the magnetic shapes within the rice
Activity procedure
- Children dig through the rice to find the hidden magnetic shapes
- As they uncover each shape, they match it to the corresponding outline on the baking sheet
- Encourage children to name each shape as they find and place it, reinforcing shape recognition
Educational benefits
- Enhances shape recognition skills
- Provides sensory stimulation through tactile interaction with colored rice
- Promotes fine motor development as children manipulate the shapes and rice
Additional tips
- Using a dry erase marker allows for easy cleanup, enabling the baking sheet to be reused for cooking
- Alternatively, a dollar store baking sheet and a Sharpie can be used to create a permanent activity setup
This activity combines sensory play with educational content, making learning shapes an enjoyable experience for children.
Letters & Numbers

Steps
Prepare the tiles:
- Lay out all 48 magnetic tiles, showing both sides with uppercase and lowercase letters
- Organize them by color or randomly, based on the level of challenge you want for the child
Introduce the letters:
- Show the child an uppercase letter on one side and the corresponding lowercase letter on the other
- Let them explore and get familiar with the feel and colors of the tiles
Alphabet sequencing:
- Encourage the child to arrange the tiles in alphabetical order, connecting them side by side
- Start with the uppercase letters, then repeat with lowercase if they’re comfortable
Word building:
- Select simple words (like “cat,” “bug,” or “fox”) and guide the child to find the corresponding letters to spell them out
- Help them place each tile in sequence to form the word
Practice letter-sound correspondence:
- Point to each letter in a word and say its sound
- Have the child repeat the sound, reinforcing the connection between letters and sounds
Upper case and lower case matching:
- Show a tile with an uppercase letter and ask the child to find its matching lowercase letter
- This can help with letter recognition and understanding the concept of letter cases
Encourage free play:
- Allow the child to create their own sequences or spell words they know
- This can make the activity more engaging and personalized
Significance for toddlers:
Letter recognition: Helps toddlers recognize both uppercase and lowercase letters
Fine motor skills: Handling and connecting the tiles improves hand-eye coordination and fine motor control
Alphabet sequencing: Learning the order of the alphabet aids in literacy development
Word formation: Building simple words introduces the basics of spelling and vocabulary
Letter-sound correspondence: Reinforces phonics skills by associating sounds with letters
Color recognition: The colorful tiles add a layer of fun and help toddlers identify colors


The above printable numbers, letters, and free-printable resources are from MAGNA-TILES one of the leading magnetic tiles brands for kids. The printable cards above do not actually have magnetic properties themselves. They’re designed to be used alongside magnetic tiles, not to become magnetic on their own.
The magnetic part of the activity comes from the MAGNA-TILES® or microMAGS tiles themselves. These tiles stick to each other magnetically, allowing kids to build structures by following the patterns or instructions on the printable cards.
Children can place magnetic tiles on top of or around the above printable cards to match shapes, build patterns, or follow the instructions. The tiles’ magnetic properties make it easy for kids to connect the pieces, creating a hands-on, interactive learning experience.
Animal Shapes – Magnetic Tiles Sticker Match
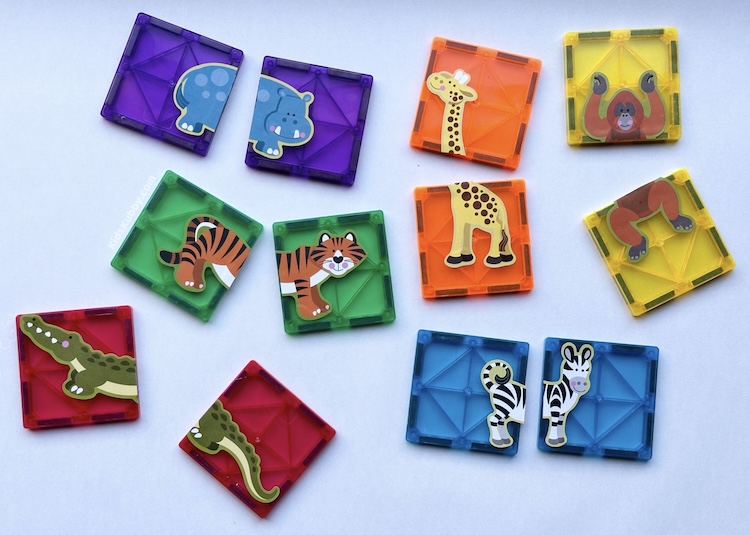
The Magnetic Tile Sticker Match activity from Kids Kubby is a fun and easy game that toddlers and preschoolers will love! It helps little ones sharpen their thinking skills while they play.
Objective
To provide a quick and easy matching game that entertains young children while promoting learning.
Materials needed
- Large stickers (ex: animal-themed)
- Magnetic tiles
Setup Instructions
- Select a large sticker and cut it in half
- Affix each half of the sticker onto separate magnetic tiles
- Repeat the process with multiple stickers to create several matching pairs
Activity Procedure
- Present the mixed-up stickered tiles to the child
- Encourage the child to match the tile halves to complete the stickers
Educational benefits
- Enhances problem-solving skills
- Develops matching abilities
- Improves fine motor skills
- Promotes independent play
- Aids in object recognition (e.g., animals)
Additional tips
- To increase difficulty, use larger stickers and divide them into more than two pieces, distributing them across multiple tiles
- This activity is portable and can be used in various settings, such as restaurants or during travel, to keep children engaged
Metropolis
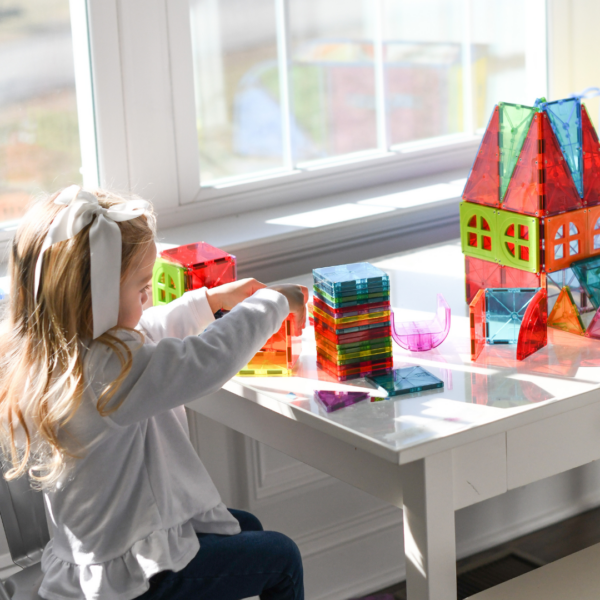
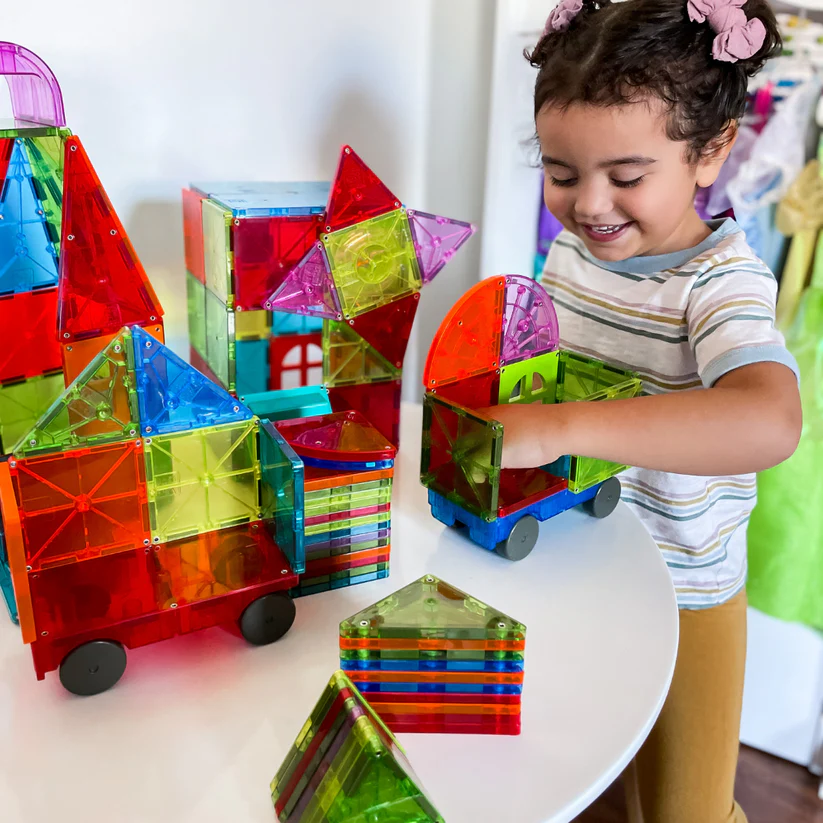
Steps to build the metropolis
- Create the base
- Use the 2 Large Squares as the foundation of your metropolis. Place them side by side or in a way that forms the base of your structure
- Build walls with small squares
- Take the 56 Small Squares and start building the walls. Arrange these squares in rows and columns around the base to form the sides of buildings
- You can make buildings of different heights by stacking the squares
- Add windows
- Insert the 6 Windows in some of the walls by replacing small squares. This adds detail and makes the buildings look more realistic
- Construct roofs
- Use the 12 Equilateral Triangles, 12 Right Triangles, and 10 Isosceles Triangles to create roofs on top of the buildings
- You can mix and match different triangles for varied roof shapes, adding a dynamic look to the metropolis
- Build an archway
- Place the 1 Arch at the entrance of your metropolis or on one of the buildings. This creates a grand entry point or a bridge effect
- Add the spinner
- Position the Spinner on top of a building or in an open area. This adds an interactive element, like a rotating tower or decorative feature
- Incorporate the door
- Use the 1 Door on one of the lower walls to create an entry point. You can place it on any building where it fits best
- Add the stairs
- Attach the 2 Stairs in front of buildings to create steps leading up to the entrance. This gives a sense of entry into the buildings
- Use the quarter circles
- Arrange the 4 Quarter Circles to create a circular or semi-circular feature, like a dome on a building or a round tower
- Build vehicles with wheeled chassis
- Take the 2 Wheeled Chassis and add a few Small Squares on top to make cars or trucks
- You can place them around the metropolis to add a transportation element
- Add the rectangle
- Use the 1 Rectangle as a special feature, such as a larger window, a sign, or an entrance facade
Note: The above steps are only indicative, for perfection with the activities please follow the instructions provided by the manufacturer.
Magna-tiles on the light table
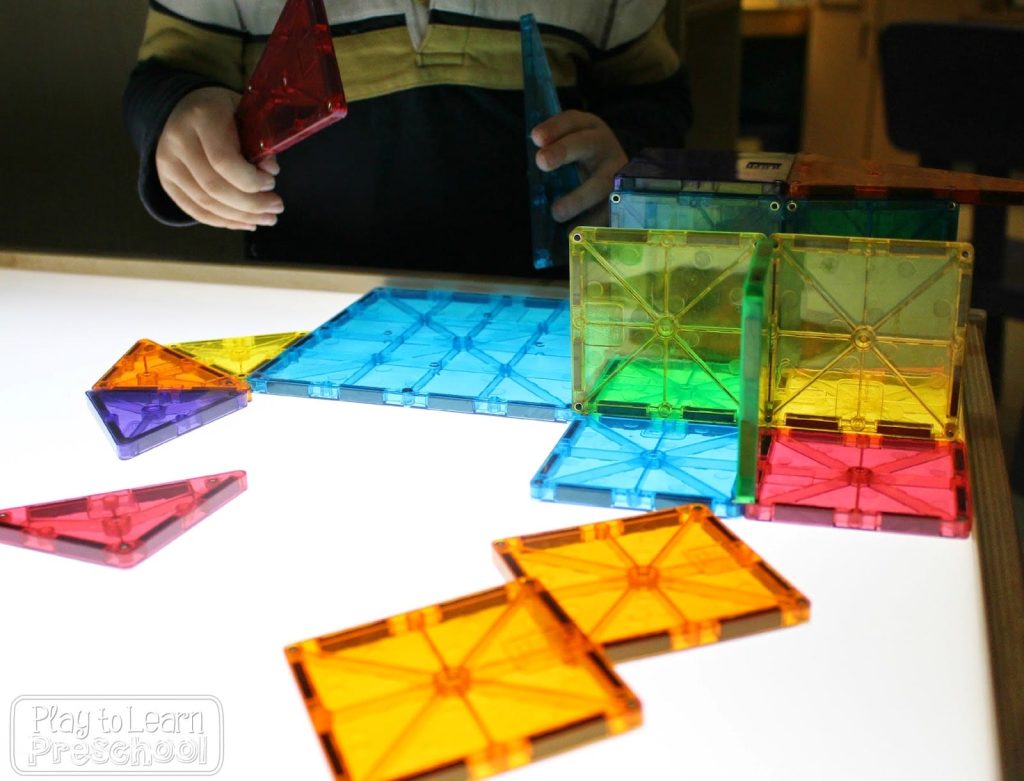
Playing with Magna-Tiles on a light table captivates toddlers by lighting up colors and shapes, making learning feel magical. This sensory activity builds fine motor skills, encourages creativity, and boosts spatial awareness as they explore and build with vibrant tiles. It’s a hands-on way for little ones to engage their senses and spark imagination!
Mix Colors
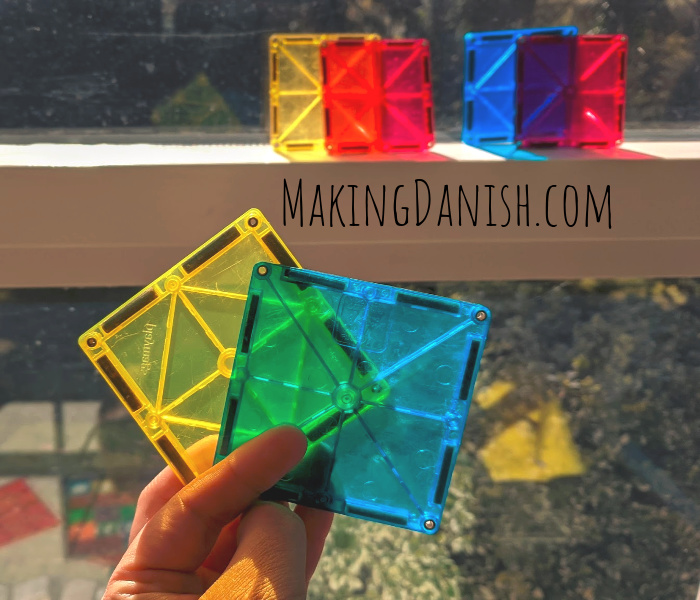
This is a super fun little activity for young kids! Just take two see-through magnetic tiles and place them on top of each other. Peek through them to see what new color they make! Try it with red, blue, and yellow, then mix it up with colors like purple and red. It’s a magical way to explore colors!
Ball Run
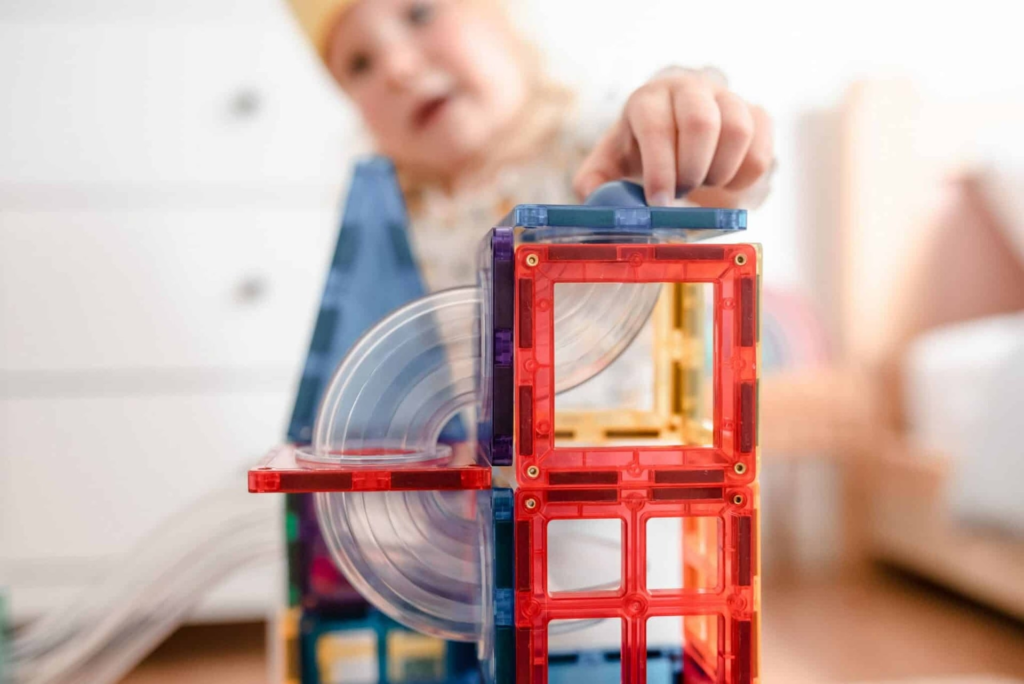
The Ball Run Expansion Pack from CONNETIX is an incredible tool for helping children explore the basics of STEAM (Science, Technology, Engineering, Arts, and Math) through hands-on play.
By building different ball run structures, kids can learn about concepts like gravity and motion as they observe how the balls move through various tubes and connectors.
This activity also encourages problem-solving, creativity, and fine motor skills as children experiment with different designs, creating paths for the balls and adjusting them to see how changes affect speed and direction.
Plus, as an open-ended toy, the Ball Run grows with kids, supporting more complex play and learning as they get older!
Teach kids to code with magnetic tiles (No-screen coding activity)
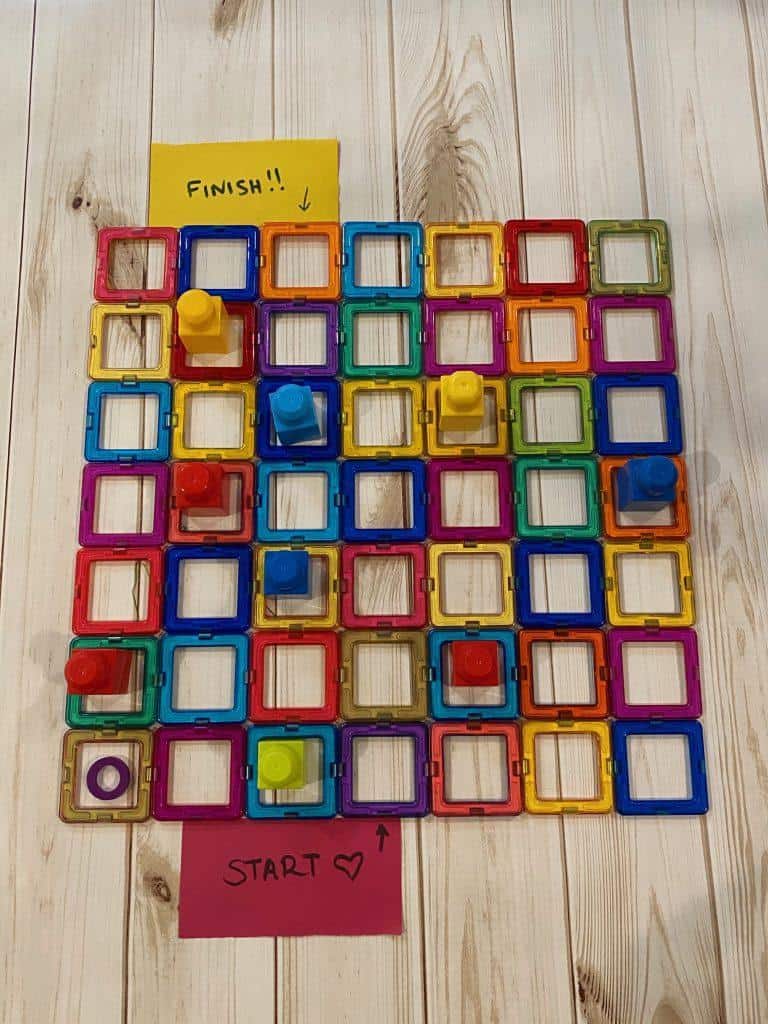
- Start and Finish Points
- A pink card with “Start” and an arrow points to the beginning of the maze at the bottom
- A yellow card with “Finish!!” marks the goal at the top of the maze
- Path and Obstacles
- The tiles create a grid that acts as the maze’s pathway
- Various small pieces or “blocks” are placed on some tiles, representing obstacles or points where children must make decisions about the direction to take
- Coding Concept
- Children are guided to “code” a path from the Start to the Finish, moving step-by-step on the tiles
- They need to decide the sequence of moves (e.g., forward, turn left, turn right) to avoid obstacles and reach the finish point
- This step-by-step process helps children grasp basic programming logic—especially the idea of sequencing actions to achieve a goal
- Learning through play
- By figuring out the correct path, children learn foundational coding concepts in a hands-on, interactive way
- The activity promotes problem-solving skills, as kids have to “debug” their route if they encounter a blocked path and try another direction
Note: More detailed instructions and variations of the above please visit Teach Your Kids Code
How to encourage independent play with magnetic tiles
Letting toddlers dive into independent play with magnetic tiles is simpler than it sounds! Just lay out a few tiles, maybe suggest they try building a tower or a little house, and then step back. You’ll be amazed—they’ll start stacking, rearranging, and experimenting, all on their own.
Sometimes they’ll knock things down just to build them back up again, learning through trial and error. It’s that quiet confidence-building that’s so incredible to watch. Give them space, and watch their creativity take off!
Wrapping up: Endless fun and learning with magnetic tiles
With magnetic tiles, the learning possibilities are endless! From building wild towers to sorting colorful shapes, these tiles turn playtime into a little adventure every single time. Toddlers don’t just play—they explore, create, and grow right before our eyes. Magnetic tiles make learning feel like pure magic!


