Ugly Sweater Day is hands-down one of the best parts of the holiday season at school. The kids come in absolutely glowing, each one more excited than the next to show off their crazy, creative masterpieces.
We’ve had sweaters with actual Christmas lights, a snowman with a carrot nose that flopped around, and my personal favorite—a student who hot-glued candy canes all over their sweater and handed them out like party favors.
It’s pure chaos, but the best kind. Beyond the laughs, it’s such a fun way to get everyone into the holiday spirit and let their imaginations run wild with DIY sweater ideas!
❤❤❤Top Posts You’ll Love❤❤❤
- 18 Very short stories on kindness with moral
- Blackout poem generator (prompts and kid-friendly resources included)
- 6 Must-read kindness poems for kids
- 27 Short kindness quotes for kids (easy-to-remember and repeat)
Why ugly sweaters are perfect for school events
Ugly sweater contests are a total hit during the holidays, and honestly, it’s no surprise—they’re the perfect mix of silly fun and school spirit! Kids love strutting into class wearing the wackiest sweaters they can find (or make), and it’s always hilarious to see the creative chaos unfold.
From glitter explosions to sweaters with actual ornaments hanging off them, the classroom turns into a festive wonderland. But it’s not just about the laughs; these contests bring everyone together in such a feel-good way. It’s all about celebrating the holidays, showing off some school pride, and making memories that stick.
Here’re the top 5 ugly sweater themes for kids…
- Funny sweater themes
- Christmas characters
- Festive sparkles
- Winter wonderland
- Recycled creativity
Funny sweater themes – Googly eyes
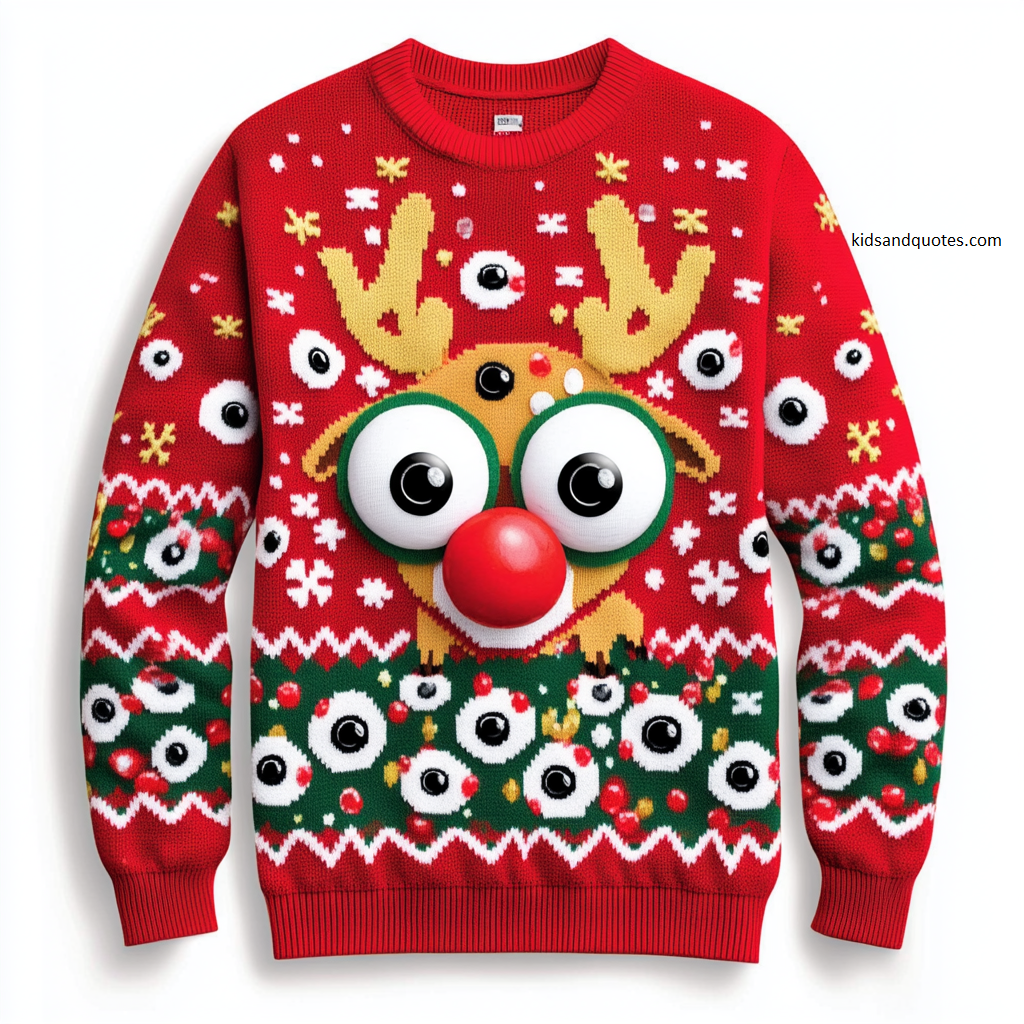
How to make you own googly-eyed Rudolph ugly sweater
Materials needed:
- A plain red sweater (or any solid color you prefer).
- Large googly eyes (at least 2-4 sizes for variation).
- A red pom-pom or a plastic craft ball for Rudolph’s nose.
- Felt sheets in yellow (for antlers) and green (for accents like trees or wreaths).
- Fabric paint or markers in white, green, and yellow (for snowflakes and patterns).
- Hot glue gun or fabric glue.
- Optional: Mini craft decorations like tiny pom-poms, sequins, or bells.
Steps:
- Prepare the sweater base: Lay your plain red sweater flat on a table. Decide on the placement of Rudolph’s face and the background design. Use chalk to lightly mark the areas where you’ll glue or paint.
- Create Rudolph’s face:
- Glue two oversized googly eyes near the center of the sweater.
- Attach the large red pom-pom or craft ball just below the googly eyes to make Rudolph’s nose.
- Cut out two antlers from the yellow felt and glue them above the googly eyes for a playful look.
- Add the festive patterns:
- Use fabric paint or markers to create snowflakes, stars, or zigzag patterns across the sleeves and bottom of the sweater. Keep them symmetrical for a polished look.
- Add green accents (like a wreath or garland) around the bottom of the sweater using green felt or paint.
- Scatter the googly eyes: For extra fun, glue smaller googly eyes randomly across the sweater, especially on the sleeves and bottom. This adds an extra layer of quirkiness!
- Finishing touches: Add mini pom-poms, sequins, or bells to the sweater for even more sparkle and holiday cheer. You can even string a small garland across Rudolph’s antlers for a final festive touch.
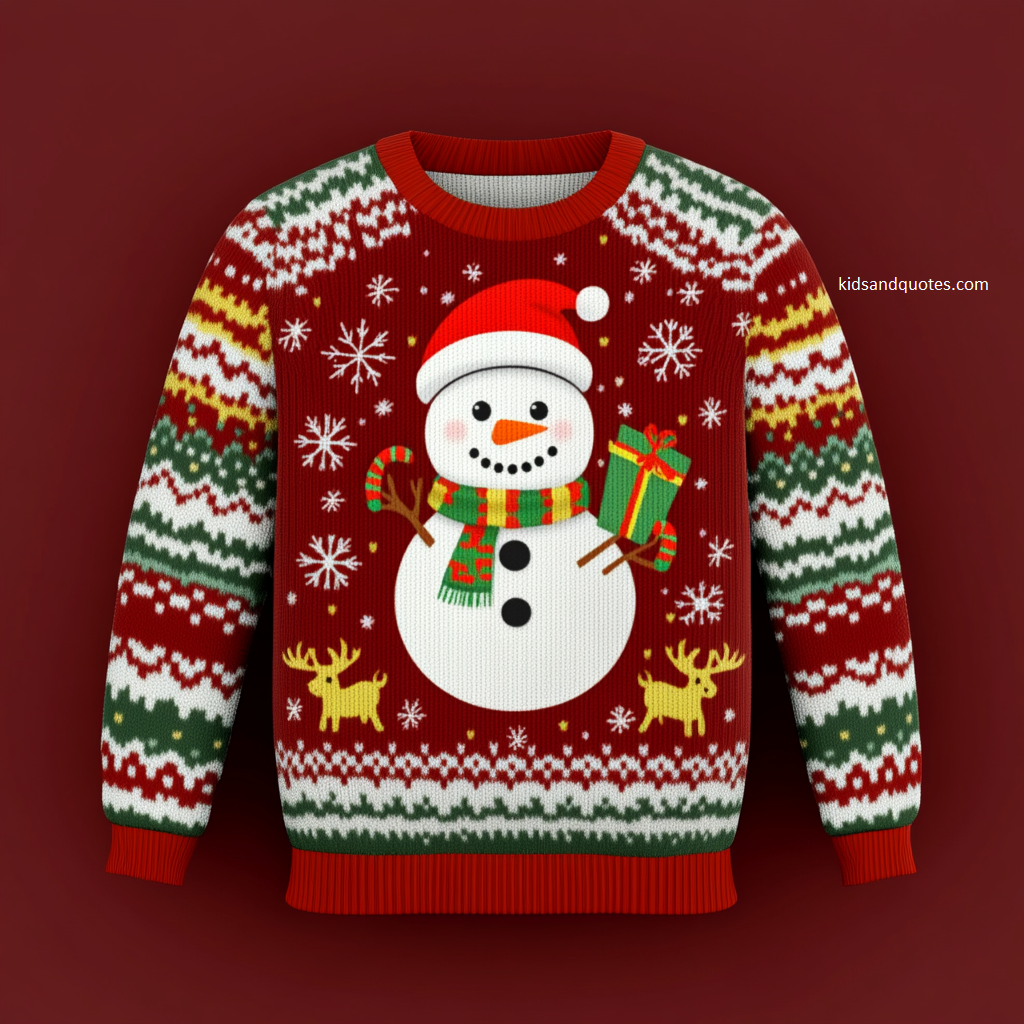
Christmas characters – Snowman
Festive sparkles – Use of glitter and shiny materials
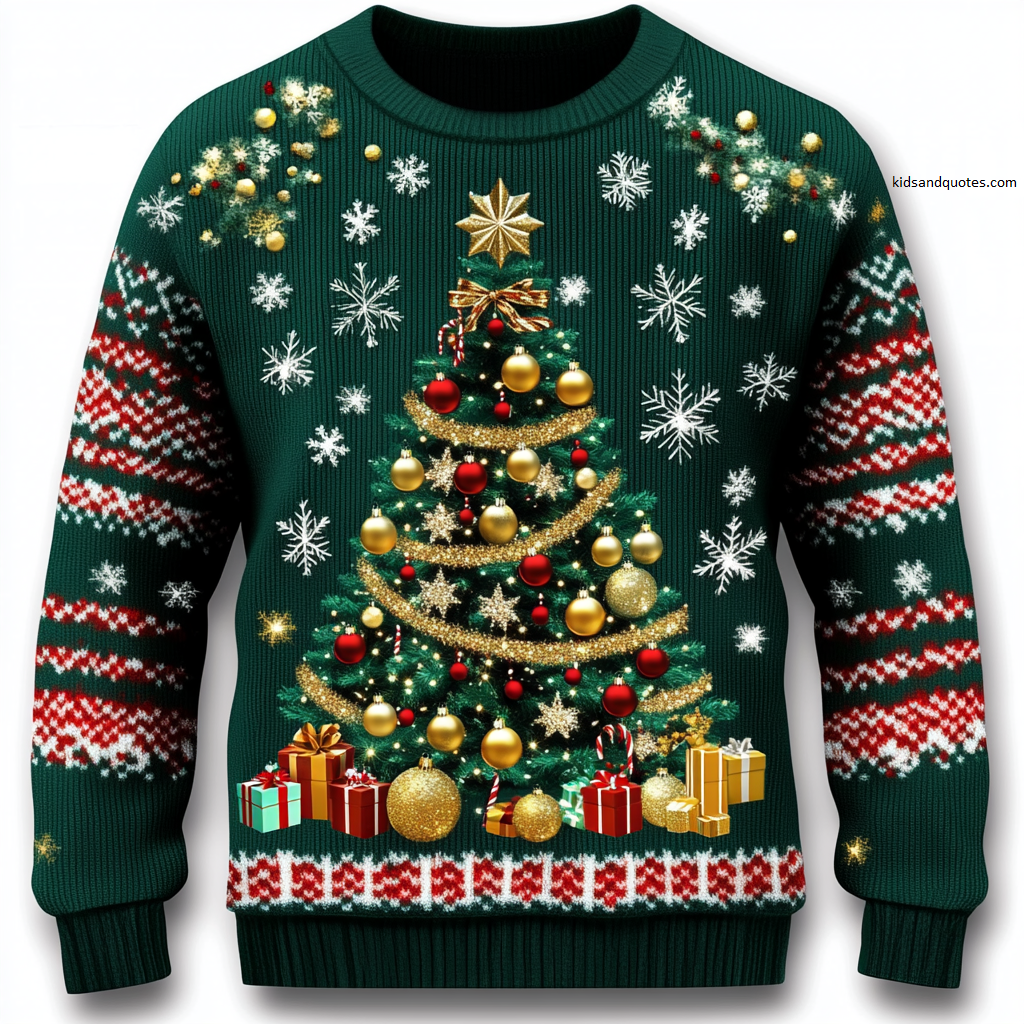
How to make a glittery Christmas tree ugly sweater
Materials needed:
- Plain Emerald Green Sweater (or any dark green base).
- Gold and Silver Glitter Glue or Glitter Fabric Paint (for stars, snowflakes, and garlands).
- Red and Gold Craft Ornaments (small balls or pom-poms for ornaments).
- Golden Star (felt or cardboard with gold glitter for the tree topper).
- Ribbon or Fabric Scraps (for presents under the tree).
- White Fabric Paint (to create snowflakes).
- Hot Glue Gun or Fabric Glue (for attaching decorations).
- Red and Gold Ribbon or Glitter Paint (for cuffs, hemline, and neckline).
Steps:
- Prepare the base design: Lay your green sweater flat on a table. Lightly sketch the outline of a Christmas tree in the center using chalk or a washable marker.
- Create the glittery Christmas tree:
- Apply gold glitter glue or glitter fabric paint along the tree outline to create a sparkling garland effect.
- Add small dots of fabric glue or glitter glue across the tree to attach red and gold pom-poms or mini ornaments as decorations.
- At the top of the tree, glue a golden star made from glittered felt or cardboard.
- Add presents under the tree:
- Use small scraps of ribbon or colorful fabric to create tiny gift box shapes.
- Glue these gift boxes at the base of the tree for a festive touch.
- Use gold glitter paint to add shimmering bows on top of the presents.
- Decorate with snowflakes:
- Use white fabric paint to draw snowflakes around the Christmas tree. Make them different sizes to mimic a snowfall effect.
- For an extra sparkle, add a touch of silver glitter glue in the center of each snowflake.
- Enhance the sleeves and borders:
- On the sleeves, create red and white zigzag patterns or stripes using fabric paint to give it a classic knitted look.
- Add golden stars or glittery snowflakes randomly across the sleeves for symmetry.
- Finish the cuffs, neckline, and hemline with red and gold glitter paint or glue strips of ribbon for a polished festive look.
- Let it dry:
- Allow all the glue and paint to dry completely. This can take a few hours, so set the sweater aside in a safe spot.
Winter Wonderland – Snowflakes
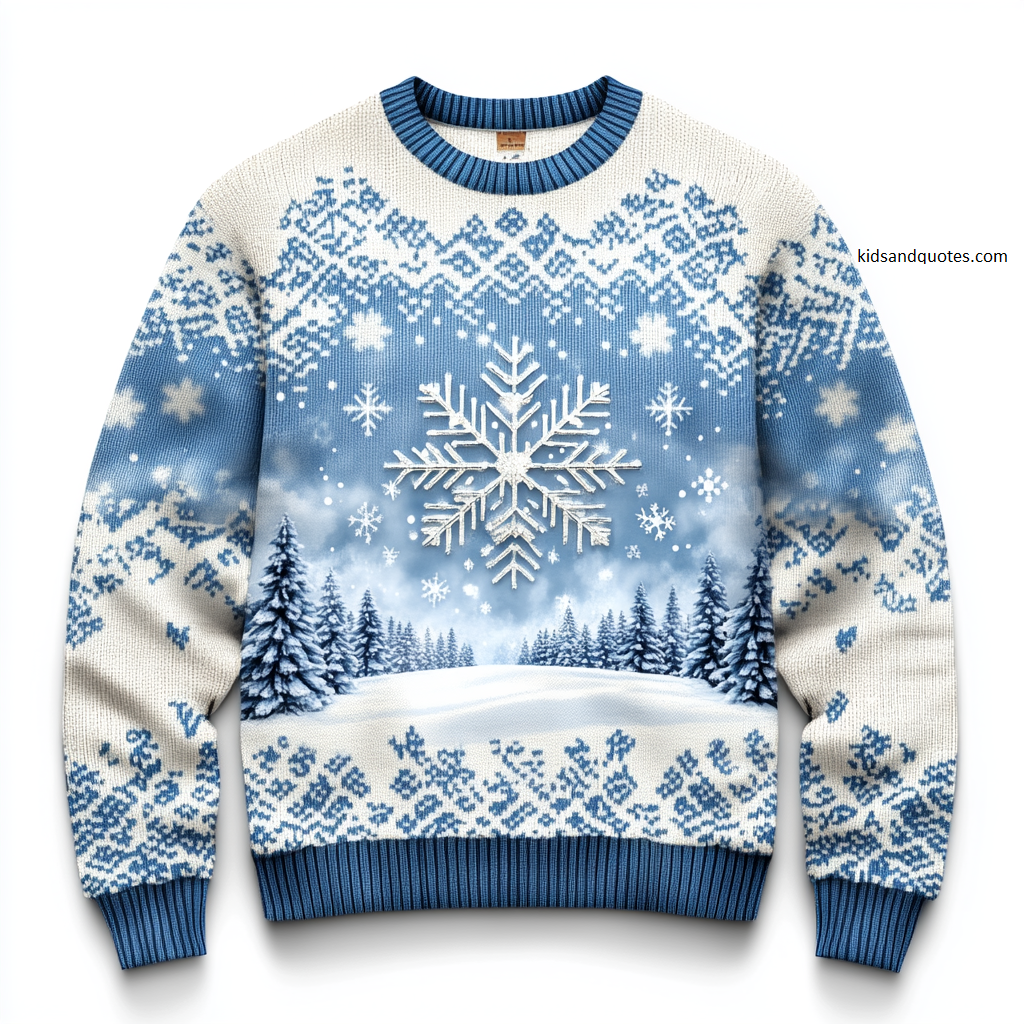
The detailed snowflake patterns across the sweater give it that classic knit design while still feeling elegant and festive. I especially love how the snow-covered pine trees at the bottom add depth and a story to the design, almost like looking into a peaceful winter scene.
It’s the perfect mix of charm, coziness, and holiday cheer—beautifully balancing “ugly sweater” fun with winter wonderland magic.
How to make a winter wonderland snowflake sweater
Materials needed:
- Light Blue Sweater (plain knit sweater as the base).
- White and Silver Glitter Fabric Paint (for snowflakes and icy details).
- White Felt Sheets (for the large central snowflake and snow-covered trees).
- Silver Glitter or Glitter Glue (to add sparkle to the snowflakes and landscape).
- Fabric Markers (in icy blue and white for shading).
- Hot Glue Gun or Fabric Glue (for attaching felt decorations).
- Optional: Small rhinestones, sequins, or mini pom-poms for extra shimmer.
Steps:
- Create the snowflake centerpiece
- Cut a large snowflake shape from white felt using a template or by freehand.
- Apply silver glitter glue along the edges and details of the snowflake for a shimmering effect.
- Glue the snowflake to the center of the sweater.
- Add the winter landscape
- Cut out snow-covered pine trees and rolling hills from the white felt. Use fabric markers to lightly shade the edges with icy blue for depth.
- Glue the trees and hills below the snowflake, creating a serene winter scene. Add a thin layer of glitter glue to mimic frost or snow on the ground.
- Decorate with snowflakes
- Use white fabric paint to draw smaller snowflakes cascading outward from the large central snowflake. Make them varying sizes for a natural snowfall effect.
- Add dots of silver glitter glue or small rhinestones to some of the snowflakes for extra sparkle.
- Create icy sleeve and neckline details
- On the shoulders and sleeves, draw icicle-like drips with white fabric paint, creating a gradient effect by blending in silver glitter paint.
- Add small snowflakes or frosty dots randomly on the sleeves for a cohesive, wintery look.
- Enhance the hemline and cuffs
- Use white fabric paint to add a frosty border of evergreen branches or snowflake patterns along the hemline, cuffs, and neckline.
- Highlight these details with a thin line of silver glitter glue for that extra frosty shine.
- Finishing touches
- Allow all glue and paint to dry completely before wearing. For added sparkle, glue tiny rhinestones or sequins randomly across the sweater.
Recycled Creativity – Sweaters made using upcycled items
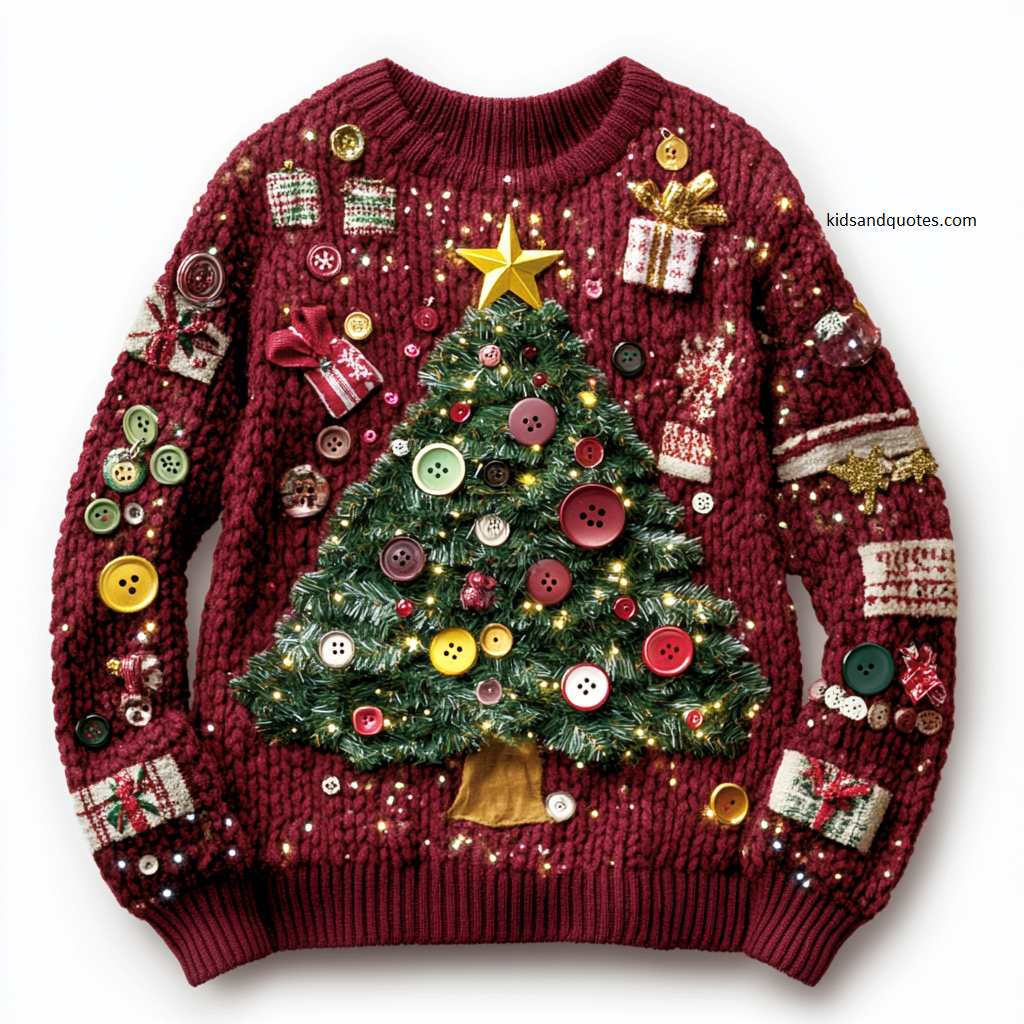
How to make an upcycled button Christmas tree sweater
Materials needed:
- Plain Burgundy Sweater (or any solid, cozy knit sweater you have).
- Assorted Buttons (green for the tree and other colors like red, gold, and silver for ornaments).
- Golden Button or Star Ornament (for the tree topper).
- Fabric Scraps (old clothes, napkins, or ribbons for gift boxes).
- Ribbon Remnants (for bows on the gift boxes).
- Hot Glue Gun or Fabric Glue.
- Small Beads, Sequins, or Broken Jewelry Pieces (for sparkle).
- Optional: Battery-operated mini LED lights (to add a glowing effect).
Steps:
- Create the button Christmas tree centerpiece
- Start by arranging green buttons into a triangular Christmas tree shape in the center of the sweater.
- Use larger buttons at the bottom and smaller ones as you go up to mimic a tree shape.
- Glue the buttons in place securely using a hot glue gun or fabric glue.
- Add colorful buttons (red, gold, silver) randomly on the tree as ornaments.
- Top the tree with a golden button or a star-shaped ornament.
- Add festive gift boxes around the tree
- Cut out small squares and rectangles from fabric scraps to make the gift boxes.
- Use ribbon remnants to create tiny bows and glue them onto the boxes.
- Glue the fabric gift boxes under the button tree, creating a “presents under the tree” effect.
- Decorate the sleeves and borders
- Use leftover buttons to create scattered patterns across the sleeves. Vary button sizes for a fun, textured look.
- Glue pieces of broken jewelry, sequins, or small beads to add sparkle around the cuffs, neckline, and hemline.
- For added detail, stitch or glue patchwork fabric strips along the sleeves and neckline, featuring holiday-themed designs like snowflakes or holly leaves.
- Add tinsel or garland effects
- String small beads, old necklaces, or metallic bottle caps together to create garlands.
- Glue these garlands either across the tree, sleeves, or hemline for a festive “tinsel” effect.
- Optional: Add LED lights
- For extra flair, weave small battery-operated LED lights into the tree or along the neckline. Be sure the battery pack can be tucked safely into a pocket or glued on the inside of the sweater.
- Finishing touches
- Allow all glue to dry completely before wearing.
- Shake the sweater gently to ensure all pieces are secure.
More DIY ugly sweater ideas for school
DIY ugly sweaters for school are all about creativity, fun, and a little bit of holiday chaos—no sewing required! If you’re short on time, try these easy ideas to whip up something festive in no time.
- No-sew sweater decorations: Grab a plain sweater and some hot glue. Cut holiday shapes like snowflakes, reindeer, or trees from colorful felt and glue them on. Add pom-poms for a 3D effect—because who doesn’t love a sweater covered in fuzzy red noses?
- Personalized sweaters: Make it all about the kids! Use glitter glue or fabric paint to add their names, initials, or even fun phrases like “Snow Much Fun!” or “Santa’s Helper.” Bonus points if you sprinkle some glitter for that extra holiday sparkle.
- Holiday craft sweaters: Raid your craft box! Pipe cleaners can become candy canes or antlers, sequins make perfect ornaments, and mini bows or bells can bring the holiday cheer right to their sleeves.
These ideas are a total lifesaver for those last-minute school events or when you’re scrambling for a festive fix. They’re super easy, low on mess, and the best part? Kids have a blast helping out. You’ll end up with a sweater that’s not just one-of-a-kind but guaranteed to get laughs and smiles all around!
Tips for organizing ugly sweater day in school
Ugly Sweater Day is way more fun when the whole class gets in on it! To get everyone excited, turn it into a friendly competition. Kids love showing off their creations, so add fun categories like “Most Creative,” “Funniest,” or “Most Festive”—there’s a chance to shine for every kind of sweater.
If parents are crunched for time, no worries! Turn it into a classroom craft activity. Set up a table with felt, glitter, pom-poms, and glue, and let kids decorate their sweaters right at school. It’s messy, it’s hilarious, and it’ll have the whole room buzzing with holiday cheer!
Spread holiday cheer, one sweater at a time
Ugly Sweater Day isn’t about making something perfect—it’s all about the fun, the laughs, and a little holiday chaos! Whether the sweaters are over-the-top glittery, hilariously wacky, or totally wild, they bring smiles and spark so much joy. Kids love showing off their masterpieces, and honestly, it’s the kind of thing that creates memories they’ll talk about for years.
So grab those supplies, dive into the creativity, and let the holiday magic happen. The best part isn’t the finished sweater—it’s the giggles, the glue messes, and the stories you’ll share.
Let’s make this season unforgettable, one fabulously ugly sweater at a time!